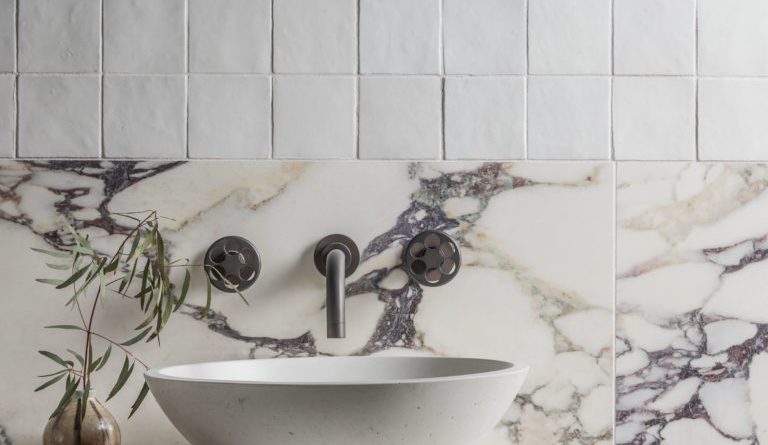
Zellige Tile Installation: Tips and Tricks for a Successful Project
Zellige tiles, also known as Moroccan tiles, are a popular choice for many homeowners and designers due to their unique beauty and versatility. However, installing zellige tiles can be a bit more challenging than installing other types of tiles due to their irregular shape and texture. In this article, we’ll share some tips and tricks for a successful zellige tile installation project.
Prepare the Surface
Before you begin installing zellige tiles, it’s important to prepare the surface properly. This means ensuring that the surface is clean, level, and free of any debris. If you’re installing zellige tiles on a wall, make sure the surface is completely flat and free of any bumps or unevenness.
Use the Right Adhesive
Zellige tiles are heavier than other types of tiles, so it’s important to use an adhesive that is strong enough to support their weight. We recommend using a cement-based adhesive that is specifically designed for zellige tiles. This will ensure a strong bond and prevent the tiles from slipping or falling off over time.
Sort the Tiles Before Installation
Zellige tiles are known for their irregular shape and size, so it’s important to sort them before installation to ensure a uniform look. This means grouping the tiles according to size and color, and laying them out in the pattern you plan to install them in. This will help you identify any tiles that may need to be cut or trimmed to fit the space.
Use the Right Tools
Installing zellige tiles requires specific tools that are designed to handle their unique shape and texture. We recommend using a tile cutter that is designed for zellige tiles, as well as a notched trowel that is the appropriate size for the tile. You’ll also need a grout float, a sponge, and a bucket for mixing grout.
Work in Small Sections
When installing zellige tiles, it’s best to work in small sections rather than trying to cover a large area at once. This will help you maintain control over the installation and ensure that each tile is properly aligned and spaced. We recommend working in sections that are no larger than 3 feet by 3 feet.
Don’t Rush the Grouting Process
Grouting zellige tiles requires a bit of finesse, as the irregular shape and texture of the tiles can make it difficult to achieve a smooth finish. We recommend taking your time during the grouting process and working in small sections. Use a grout float to apply the grout, and make sure to remove any excess grout before it dries. Once the grout is dry, use a damp sponge to remove any haze from the surface of the tiles.
Seal the Tiles
Zellige tiles are porous, so it’s important to seal them after installation to prevent staining and damage. We recommend using a penetrating sealer that is specifically designed for zellige tiles. Apply the sealer according to the manufacturer’s instructions, and make sure to reapply it every few years to maintain the protection.
conclusion:
installing zellige tiles can be a bit more challenging than installing other types of tiles, but with the right preparation and tools, it can be a successful and rewarding project. Remember to prepare the surface properly, use the right adhesive, sort the tiles before installation, work in small sections, take your time during the grouting process, and seal the tiles after installation. With these tips and tricks, you’ll be able to achieve a beautiful and long-lasting zellige tile installation.


